


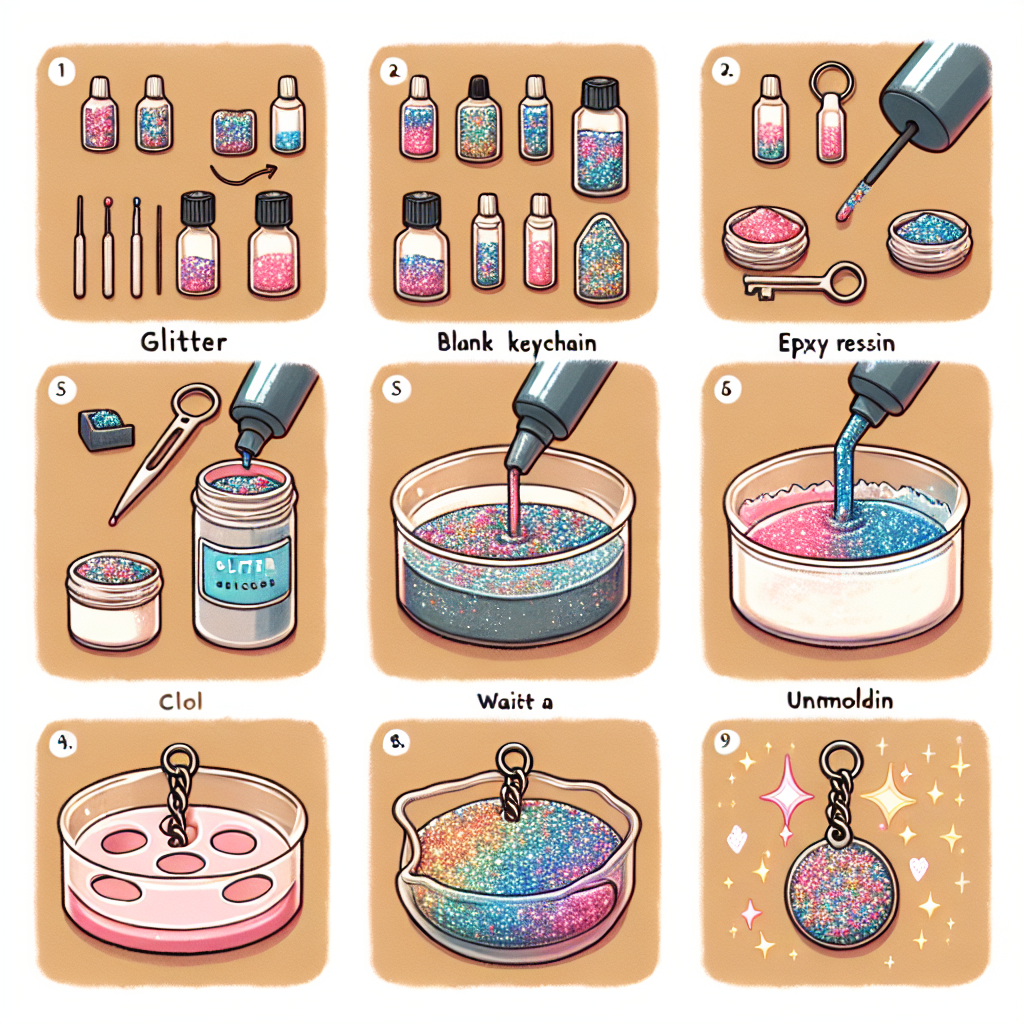
Step-by-Step: Making Glitter Keychains with Epoxy Resin
-
Table of Contents
“Craft Your Sparkle: Step-by-Step Guide to Glitter Keychains with Epoxy Resin!”
Creating glitter keychains with epoxy resin is a fun and creative project that allows you to personalize your accessories while exploring the art of resin crafting. This step-by-step guide will walk you through the process, from gathering materials to finishing touches, ensuring that you achieve beautiful, sparkly keychains that reflect your unique style. Whether you’re a beginner or an experienced crafter, this project is perfect for adding a touch of sparkle to your everyday items or making thoughtful gifts for friends and family. Get ready to unleash your creativity and make stunning glitter keychains that are both functional and eye-catching!
Materials Needed for Glitter Keychains
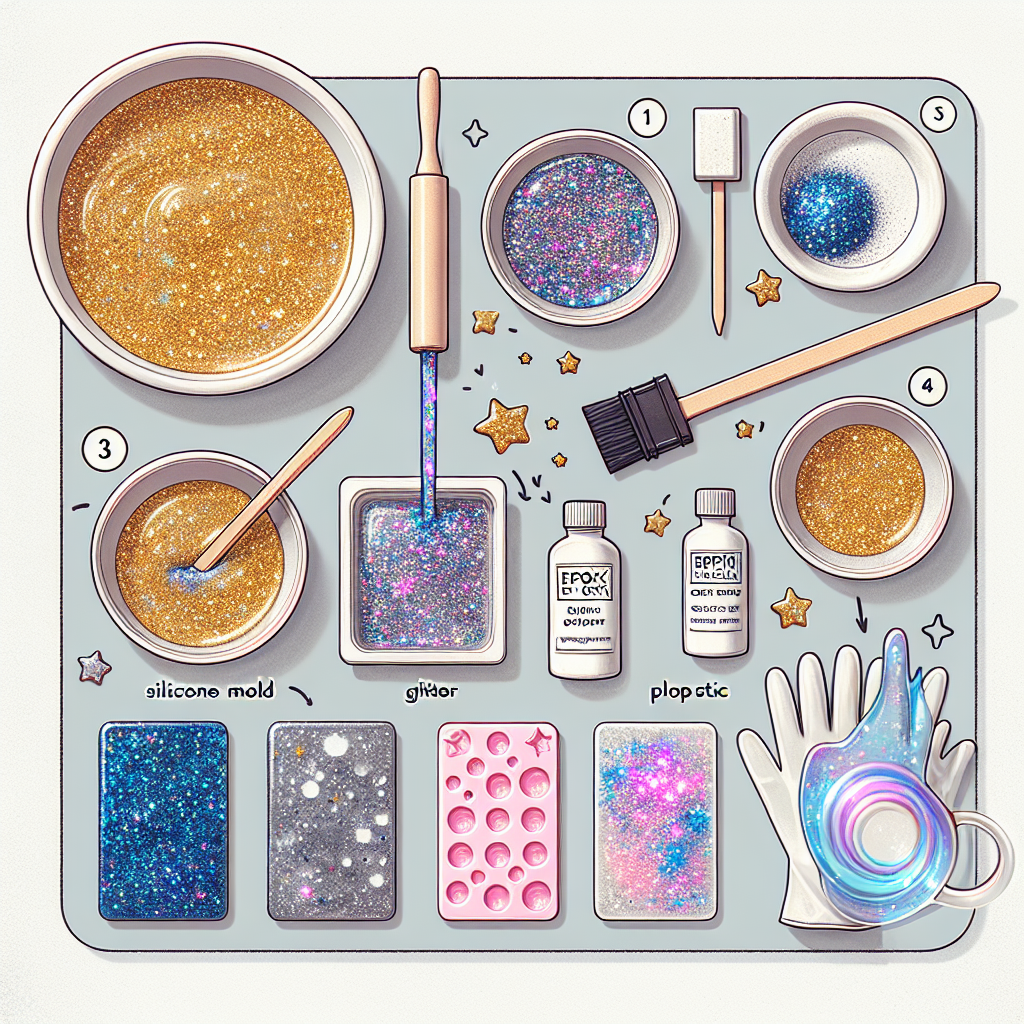
Creating glitter keychains with epoxy resin is a delightful and rewarding craft that allows for personal expression and creativity. To embark on this project, it is essential to gather the necessary materials, as each component plays a crucial role in achieving a successful outcome. First and foremost, the primary ingredient is epoxy resin itself. This two-part system typically consists of a resin and a hardener, which, when mixed together, undergo a chemical reaction that results in a durable and glossy finish. It is advisable to select a high-quality epoxy resin specifically designed for crafting, as this will ensure optimal clarity and strength.
In addition to the epoxy resin, one must also procure a mixing cup and stirring sticks. The mixing cup should be made of a material that is resistant to chemical reactions, such as silicone or plastic, and should have clear measurement markings to facilitate accurate mixing. Stirring sticks, often made of wood or plastic, are essential for thoroughly combining the resin and hardener, ensuring that the mixture is uniform and free of bubbles. Furthermore, it is prudent to have disposable gloves on hand, as the resin can be sticky and difficult to remove from skin. Wearing gloves not only protects the hands but also maintains cleanliness throughout the crafting process.
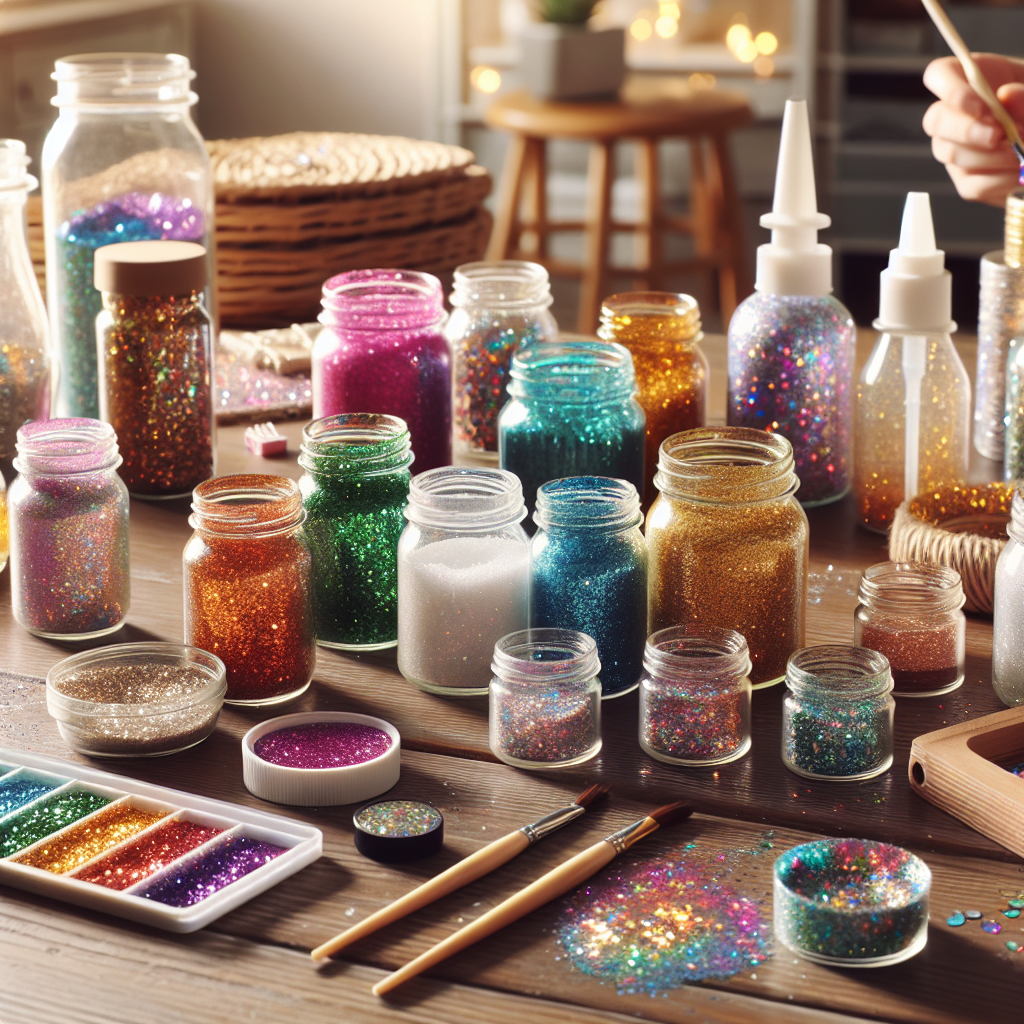
Next, glitter is a vital component that adds sparkle and personality to the keychains. There are various types of glitter available, including fine, chunky, and holographic options. Each type offers a different aesthetic, allowing for customization based on personal preference. When selecting glitter, it is important to choose a type that is compatible with epoxy resin, as some glitters may not adhere properly or could react negatively with the resin. Additionally, one may consider incorporating other embellishments, such as sequins, dried flowers, or small charms, to enhance the visual appeal of the keychains.
To create the keychain itself, one will need keychain hardware, which typically includes metal rings and clasps. These components are readily available at craft stores or online and come in various finishes, such as silver, gold, or rose gold. The choice of hardware can significantly influence the overall look of the finished product, so it is advisable to select a style that complements the chosen glitter and design.
Moreover, a silicone mold is essential for shaping the epoxy resin into the desired keychain form. Silicone molds are favored for their flexibility and ease of use, allowing for easy removal of the cured resin without damaging the final product. Molds come in various shapes and sizes, from simple geometric designs to intricate patterns, providing ample options for creativity. It is important to ensure that the mold is clean and free of dust or debris before pouring the resin.
Lastly, a heat gun or torch can be beneficial for eliminating air bubbles that may form in the resin during the mixing process. By gently applying heat to the surface of the poured resin, one can encourage bubbles to rise and pop, resulting in a smoother finish. While not strictly necessary, this tool can enhance the quality of the final product.
In conclusion, gathering the right materials is a fundamental step in the process of making glitter keychains with epoxy resin. By carefully selecting high-quality resin, appropriate mixing tools, vibrant glitter, keychain hardware, silicone molds, and optional heat tools, one can set the stage for a successful and enjoyable crafting experience. With these materials in hand, the journey of creating unique and personalized keychains can begin, leading to beautiful and functional accessories that reflect individual style.
Step-by-Step Guide to Mixing Epoxy Resin
Creating glitter keychains with epoxy resin is a rewarding craft that allows for personal expression and creativity. However, before diving into the fun of pouring and decorating, it is essential to understand the proper technique for mixing epoxy resin, as this step is crucial for achieving a successful final product. The process begins with gathering all necessary materials, which typically include epoxy resin, a hardener, measuring cups, stirring sticks, and, of course, your chosen glitter. It is advisable to work in a well-ventilated area and to wear gloves to protect your skin from any potential irritation.
Once you have assembled your materials, the first step is to measure the resin and hardener accurately. Most epoxy resins come with a specific mixing ratio, often 1:1 or 2:1, depending on the brand. It is vital to adhere to these ratios closely, as improper mixing can lead to a sticky or improperly cured final product. Using separate measuring cups for the resin and hardener, pour the required amounts into each cup. After measuring, it is important to combine the two components in a clean mixing container.
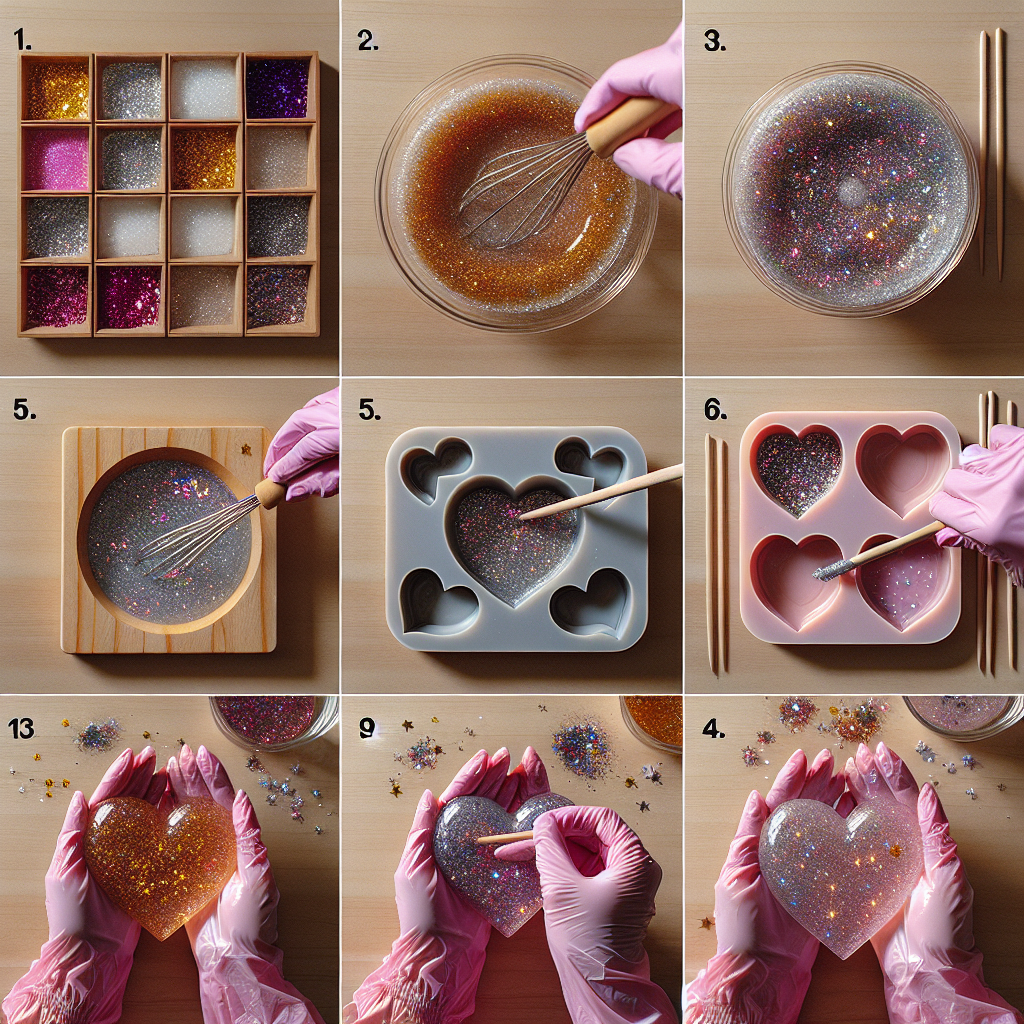
As you pour the resin into the mixing container, follow this with the hardener. It is essential to scrape the sides of the measuring cups to ensure that you are using every bit of the resin and hardener. Once both components are in the mixing container, use a stirring stick to mix them thoroughly. Stirring should be done slowly and methodically to minimize the introduction of air bubbles, which can mar the surface of your keychain. Continue to mix for at least three to five minutes, ensuring that you scrape the sides and bottom of the container to incorporate all materials evenly.
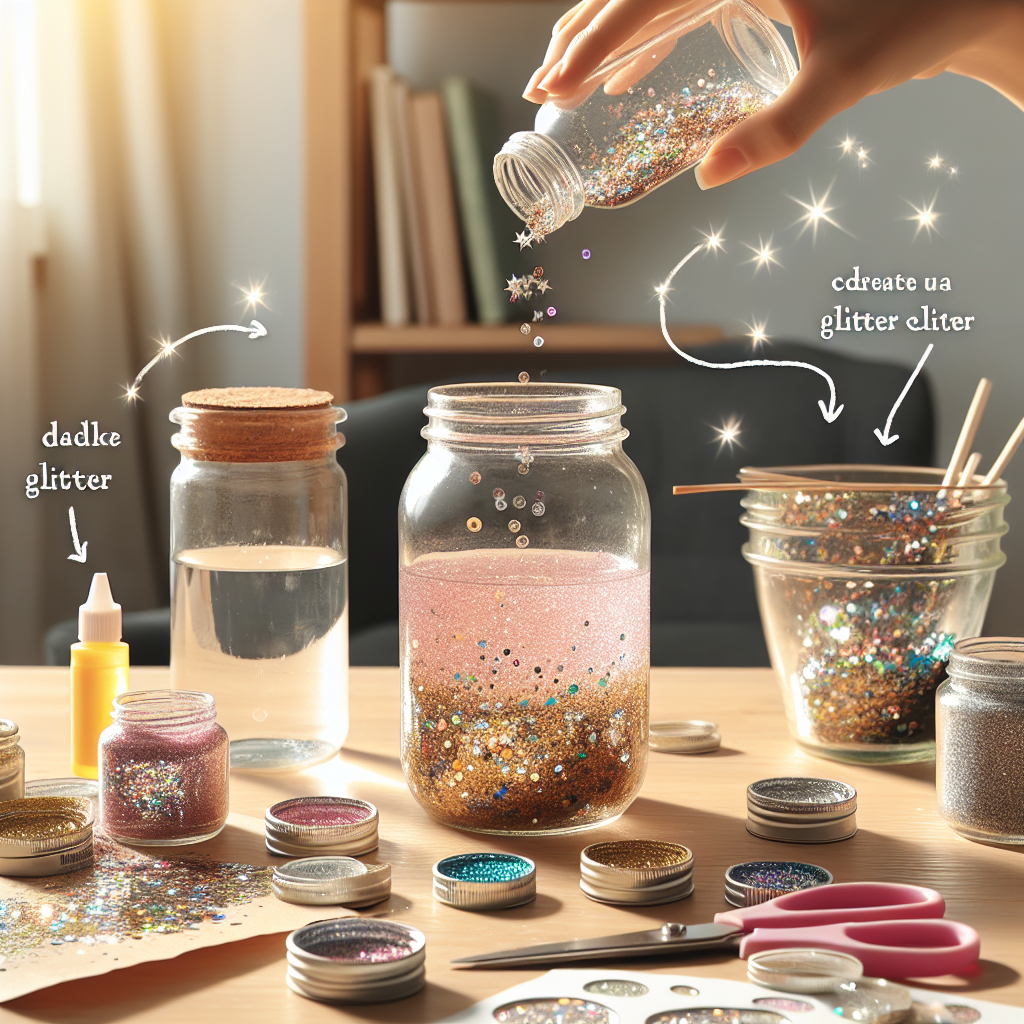
After achieving a uniform mixture, you may notice some bubbles forming. To eliminate these, you can gently tap the sides of the container or use a heat gun or torch to carefully pass over the surface. The heat will help the bubbles rise and pop, resulting in a smoother finish. Once you are satisfied with the mixture, it is time to add your glitter. The amount of glitter you choose to incorporate can vary based on personal preference; however, a general guideline is to add about 10% of the total volume of the resin mixture. Stir the glitter into the resin thoroughly, ensuring an even distribution throughout the mixture.
With your glitter now mixed in, it is crucial to pour the resin into your keychain molds promptly, as epoxy resin has a limited working time before it begins to set. Carefully pour the mixture into each mold, filling them to the desired level. If you notice any bubbles rising to the surface after pouring, you can use the heat gun or torch again to eliminate them. Allow the resin to cure according to the manufacturer’s instructions, which typically ranges from 24 to 48 hours, depending on the specific product used.
Once the curing process is complete, you can demold your keychains. At this stage, you may want to sand any rough edges or apply a top coat of resin for added shine and durability. The final result will be a beautiful, personalized glitter keychain that showcases your creativity and craftsmanship. By following these steps carefully, you can ensure that your epoxy resin mixing process is successful, leading to stunning keychains that you can proudly use or gift to others.
Tips for Adding Glitter and Finishing Touches
When embarking on the creative journey of making glitter keychains with epoxy resin, the addition of glitter and the application of finishing touches are crucial steps that can significantly enhance the final product. To begin with, selecting the right type of glitter is essential. There are various options available, including fine, chunky, and holographic glitters, each offering a unique aesthetic. Fine glitter tends to create a smooth, shimmering effect, while chunky glitter can add dimension and texture. Holographic glitter, on the other hand, reflects light in a captivating manner, making it an excellent choice for those looking to add a bit of sparkle. Therefore, it is advisable to consider the desired outcome when choosing the glitter type, as this decision will influence the overall appearance of the keychain.
Once the glitter has been selected, the next step involves determining the appropriate amount to use. It is important to strike a balance; too little glitter may result in a lackluster appearance, while too much can lead to a cluttered look. A general guideline is to start with a tablespoon of glitter for every ounce of resin, adjusting as necessary based on personal preference. Additionally, mixing the glitter thoroughly into the resin is vital to ensure an even distribution. This can be achieved by using a stir stick, which allows for a consistent blend without introducing too many air bubbles.
As the glitter is incorporated into the resin, it is also essential to consider the layering technique. For those who wish to create a more dynamic design, layering different colors or types of glitter can yield stunning results. By pouring a layer of resin, allowing it to partially cure, and then adding another layer of glitter before pouring additional resin, one can achieve a beautiful depth that enhances the visual appeal of the keychain. This method not only adds complexity to the design but also allows for creative experimentation with color combinations.
After the glitter has been added and the resin has cured, attention must turn to the finishing touches that will elevate the keychain to a professional level. One effective technique is to sand the edges of the keychain gently. This process smooths out any rough spots and creates a polished look. Using fine-grit sandpaper, one can carefully sand the edges until they are smooth to the touch. Following this, it is advisable to wipe the keychain with a damp cloth to remove any dust particles that may have accumulated during sanding.
Furthermore, applying a top coat of resin can enhance the durability and shine of the keychain. This additional layer not only protects the glitter but also provides a glossy finish that can make the colors pop. To apply the top coat, one should mix a small amount of resin and pour it over the keychain, ensuring an even distribution. Allowing this layer to cure completely will result in a stunning, glossy surface that showcases the glitter beautifully.
In conclusion, the process of adding glitter and applying finishing touches to epoxy resin keychains is both an art and a science. By carefully selecting the right glitter, balancing the amount used, experimenting with layering techniques, and focusing on finishing details, one can create eye-catching keychains that are not only functional but also serve as unique expressions of creativity. With patience and attention to detail, the final product will undoubtedly reflect the effort invested in its creation.
Q&A
1. **What materials are needed to make glitter keychains with epoxy resin?**
You will need epoxy resin, hardener, glitter, silicone molds, keychain hardware, mixing cups, stirring sticks, and gloves.
2. **How do you prepare the epoxy resin for the keychains?**
Measure equal parts of epoxy resin and hardener according to the manufacturer’s instructions, mix thoroughly in a cup for several minutes until well combined, and then add glitter to the mixture.
3. **What is the curing process for the epoxy resin keychains?**
Pour the mixed resin into the silicone molds, allow it to cure at room temperature for 24 to 48 hours, and then remove the keychains from the molds once fully hardened.In conclusion, making glitter keychains with epoxy resin involves careful preparation, precise mixing of resin and hardener, and the creative application of glitter. By following a step-by-step process, including selecting molds, adding color and embellishments, and allowing adequate curing time, you can create unique and personalized keychains that are both functional and visually appealing. Proper safety measures and attention to detail are essential for achieving the best results.